
As the snow melts and the ground warms, it’s time to look at the most underappreciated utility in the home: the septic system.
According to the Environmental Protection Agency, one in five homes has an individual septic system. Unfortunately, many septic systems are often neglected because they are out of sight, out of mind. The good news is that it’s actually quite easy to keep things flowing smoothly (pun intended).
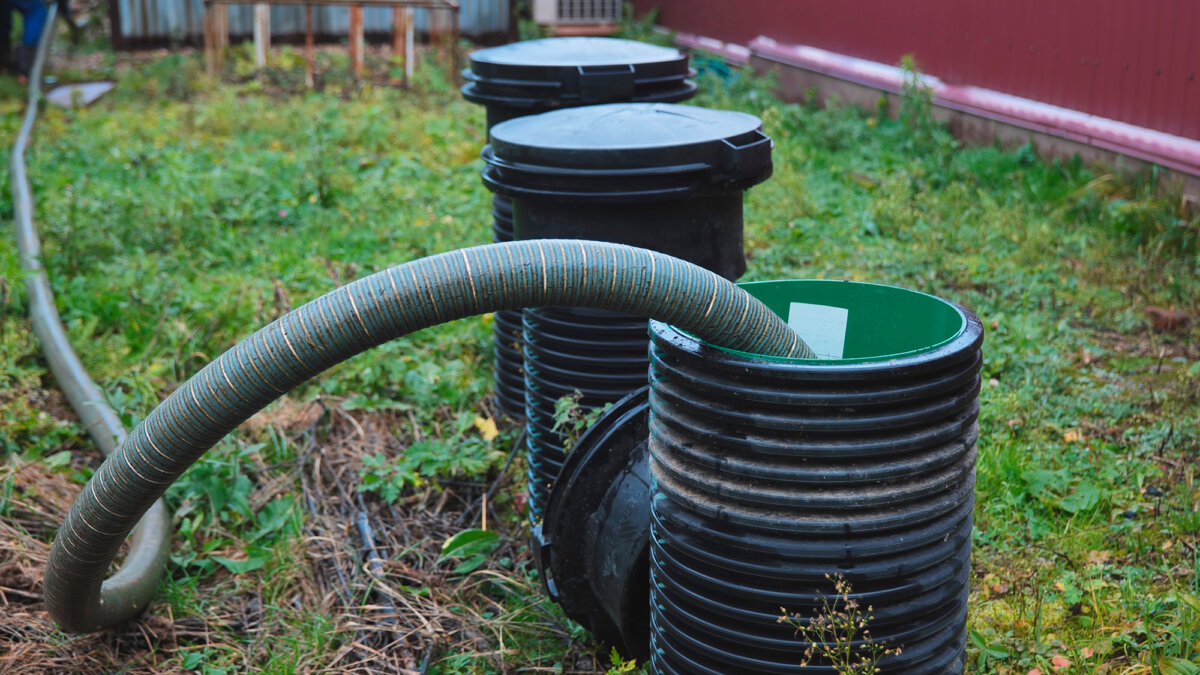
It all starts with frequent pumpouts, with the frequency depending on the size of the tank and household. One to two people can make do with a 500- to 1,000-gallon tank and pumpouts every three to five years on average. A 1,000- to 1,500-gallon tank can accommodate a family of three to five, but should be pumped out at least every two to four years. Households of six or more should have a 1,500-gallon tank, or larger, and may need pumping every one to three years. Garbage disposals and their resulting solids, as well as high water usage/wastewater generation, can also increase the frequency of required pumpouts.
Spring Scrutiny
Whether it’s behind the home or at a vacation cabin, the initial spring checkup rules for septic tanks are the same.
Melting snow plays a key role, namely, where does it pool and run in the yard? If it’s accumulating over the tank or drain field, it should be routed away, as otherwise the excess water can potentially stress the system.
As the weather gets warmer, keep an eye out for “surfacing.” A surfaced area will stay marshy and wet, have standing water, or sport grass that’s growing especially vigorously and green, with unpleasant odors. All can indicate problems with the system—most of which are easily fixed.
A Little TLC
Good septic management starts with what is put into the system. Dispose of greases and oils, as well as food bits not properly ground up by a garbage disposal, in the trash bin. Ideally, keep all food particles away; consider composting them instead. Other “never flush” items include feminine hygiene products, plastics, including wipes, and excessive amounts of toilet paper (even septic-safe kinds).
Flush a monthly bacterial supplement down the toilet. These beneficial bacteria eat up solid waste, reducing sludge buildup, and can potentially extend the time between pumpouts, thereby paying for themselves. Flush at bedtime so they have more time to colonize before peak usage the next day. Many popular household cleaners contain antibacterial agents, making it important to replenish the natural bacteria in the tank.
Wise Water Usage
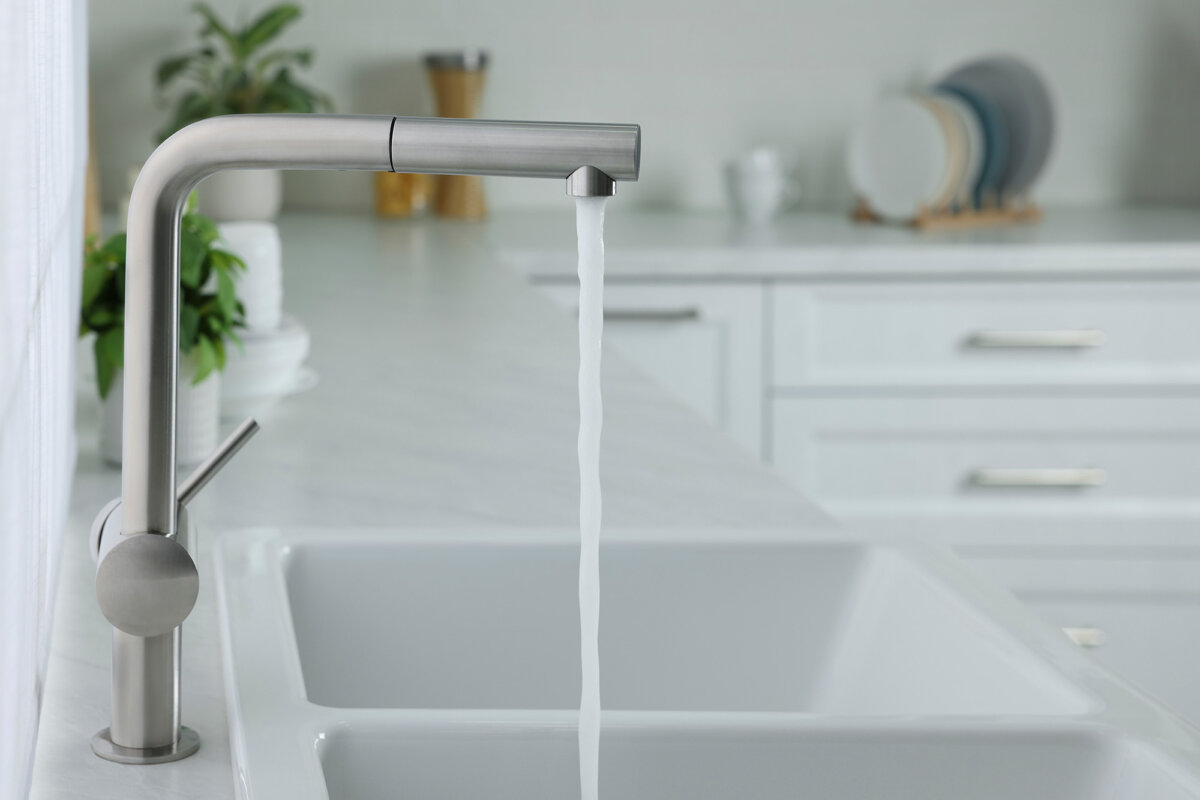
Too much water can wreak havoc on a septic tank system, so opt for low-flow showerheads and faucets. Don’t do several laundry loads in a day; instead, spread them out during the week and run full loads, as they use less water overall. Also, fix running toilets and dripping faucets promptly so the water bill will be reduced, too.
Outdoor TLC
A thriving septic system needs to breathe properly, so don’t let the vent pipes become blocked by snow, plants, leaf litter, or other debris. Is there a slight odor? Additional vents may be needed.
The drain field needs porous soil with plenty of air pockets for the water to flow into—soil compaction over the drain field can back up the system. Never drive or park over it or build a shed over it—even walking over it repeatedly in wet weather can lead to problems. Plant only grass or other shallow-rooted plants over a drain field and keep trees trimmed back so their potentially invasive roots stay far away.
Troubleshooting
Got a gurgling toilet or slow-running drain, or both? If it’s one fixture, the clog is localized, so use a snake to clear that pipe. If it’s several fixtures, it may be time to snake the main sewer line leading to the septic tank.
Start by finding the cleanout access point, which is normally on the main line from the home to the tank. Using a manual or power snake, insert it until you feel the blockage, move the snake back and forth to break it up, then pull the snake out, clean it, and reinsert it as needed. Flush the line with a garden hose afterward to remove any residual debris.
Do not snake the drain field, as this can damage the perforated piping. Instead, use a sewer jetter, a specialized hose and nozzle that attaches to one’s pressure washer, or rent one.
If there is standing water on the drain field in one particular spot, it may be possible to dig down, see what’s happening, and make any necessary repairs oneself, such as replacing a section of broken pipe. Wear protective goggles and gloves when exploring or making any repairs.
You can rent a specialized camera to check the entire system for broken pipes, blockages, and root intrusions. Another option is nontoxic dye testing to determine a more accurate location of a leak.
It also may be time to call in a professional. It’s costly, but consider it an opportunity to gain valuable knowledge for use on future projects.
________________________
Get Digging
A DIY septic system can be installed just about anywhere, but be sure to check with the Environmental Protection Agency or local health departments first for any specific regulations.
Site Selection
An ideal site has loose (not rocky) free-draining soil, is not near water sources (to avoid contamination), has a low water table, and is easily accessible for maintenance. Get a soil percolation test; the slower the absorption rate, the bigger the drain field needed.
Tank Choices
No option is flawless. Concrete is extremely durable and is available precast, but requires specialized equipment to install. Molded fiberglass is lightweight, DIY-friendly, and durable, but expensive. Polyethylene, the most cost-effective option, is lightweight and easy to install, but may crack over time.
Ready, Set, Build
Excavate the site with a shovel or backhoe, lay six inches of gravel, and make sure that the tank is level. Connect the inlet and outlet pipes, and backfill. Drain field trenches can range from 18 inches to 30 inches deep. Lay gravel under, around, and on top of the perforated pipes to enhance absorption.
