
Doing home repairs, building furniture or a deck, fixing a car: It all comes down to having the right tools. These unquestioning partners are a crucial part of a do-it-yourselfer’s success.
The first step in proper care is to clean them often, ideally every time they’re used. But let’s be honest, when you’re exhausted at the end of a big project, the cleaning doesn’t always happen, or at least isn’t as thorough as it should be. The shorter, snowy (or rainy) days of winter are the perfect time to do some off-season maintenance.
Hand Tools 101
Take a cup of coffee, tea, or other favorite drink and head into your workshop or garage. The idea is to see this as not a chore, but rather a low-key opportunity to play with tools (aka, a guy’s spa day). This is also a great way to introduce children (carefully!) to DIY.
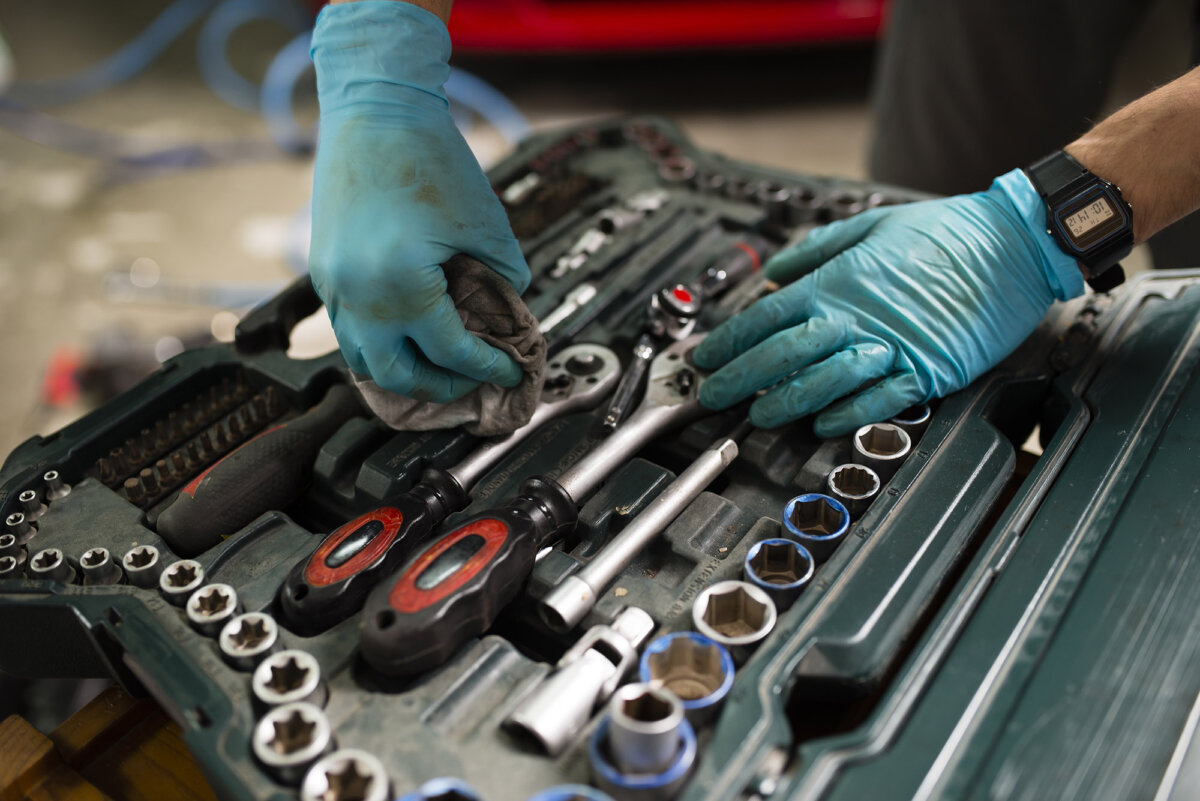
Start by wiping down screwdrivers, hammers, wrenches, pliers, and other tools with a clean or lightly damp cloth. If any more cleaning is needed, use mild soap and water. Avoid abrasives and harsh cleaners that can scratch or otherwise damage the tool’s metal surfaces or the wood or plastic handles. Dry thoroughly to prevent rust.
Adding a thin layer of machine oil or a rust inhibitor will protect metal surfaces from moisture and rust while in storage. Check for any loose parts and hinges on wrenches, pliers, or snips, tightening as needed, and lubricate them. Wipe off excess oil and protectant so it doesn’t attract dust.
Goodbye, Rust
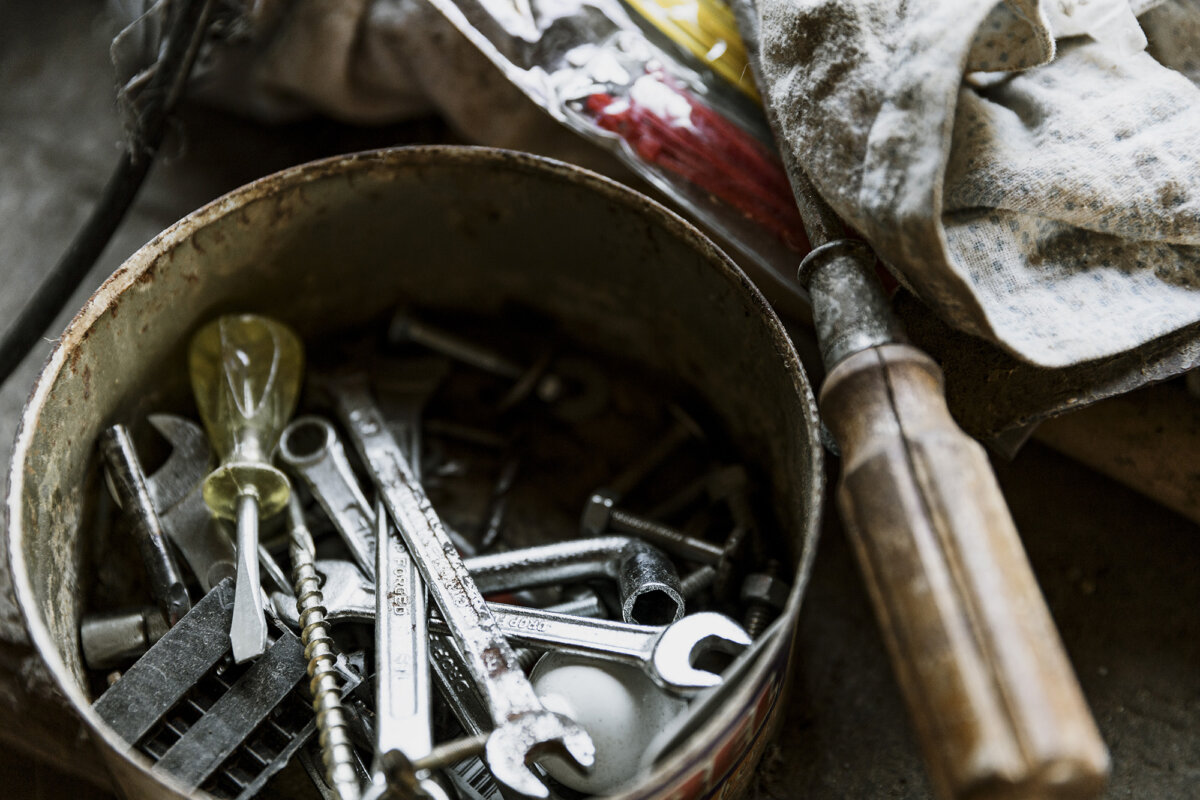
If the metal is already rusted, remove the rust with a wire brush. If that doesn’t work, try soaking it in Coca-Cola and let its phosphoric acid work for 12 to 24 hours. Rinse and dry thoroughly, as Coke is sticky.
Heavy rust buildup may need an overnight to 24-hour soak in vinegar, then a cleaning with a scouring pad (such as Scotch-Brite) or fine steel wool. Anything stronger, such as coarse sandpaper, can leave gouges in the metal.
After any rust removal, coat the newly exposed clean surface with machine oil or a rust inhibitor.
Cutting Edge
Tools used for cutting and chopping such as snips, pruning and lopping shears, shovels, hoes, and axes will eventually lose their edge. Resharpening them simply requires a bit of patience, attention to detail, and the right tool.
A diamond stone is best for hard steel tools. Ceramic stones are a top choice for honing already sharpened edges. However, beginners may be happiest with a dual-grit stone that offers both coarse and fine surfaces. Always sharpen at the same angle as the factory bevel of the tool.
Handle Care
Inspect hammer, screwdriver, chisel, shovel, and other tool handles for splinters and cracks and to ensure that their connection is secure, repairing as needed. Wood is a forgiving material that can be sanded and oiled or resealed if it begins to look a bit rough. However, badly cracked handles may need to be replaced. Broken plastic handles should simply be replaced, and if a replacement isn’t available, the entire tool may need to be replaced. One way to avoid this is to never use a tool for anything other than its intended purpose.
Although metal handles normally require minimal care, be sure to address chipped paint or worn edges immediately with a quality metal paint. Also, touch up painted shovel heads and other relevant items while the can is out. If light surface rust has started to appear, spray with Rust-Oleum Rust Reformer, then paint.
Power Partners
Unplug power cords and remove battery packs before doing any maintenance. Clean and inspect batteries, replacing as needed. Batteries should be charged up and then stored in a temperate location—in other words, not an uninsulated garage or near a furnace, water heater, or heating vent.
Worn or damaged power cords are a little more of a challenge, but with the right parts and a little know-how, power cord replacement is within the reach of seasoned DIYers.
Clean Machine
Power tool air vents are a magnet for dust and debris, leading to potential overheating. Clean with a soft brush or a can of compressed air. Lubricate moving parts as directed in the manual. Inspect the carbon brushes for wear and tear, replacing them if needed. If it’s a brushless model, skip the last step, of course.
Home Sweet Home
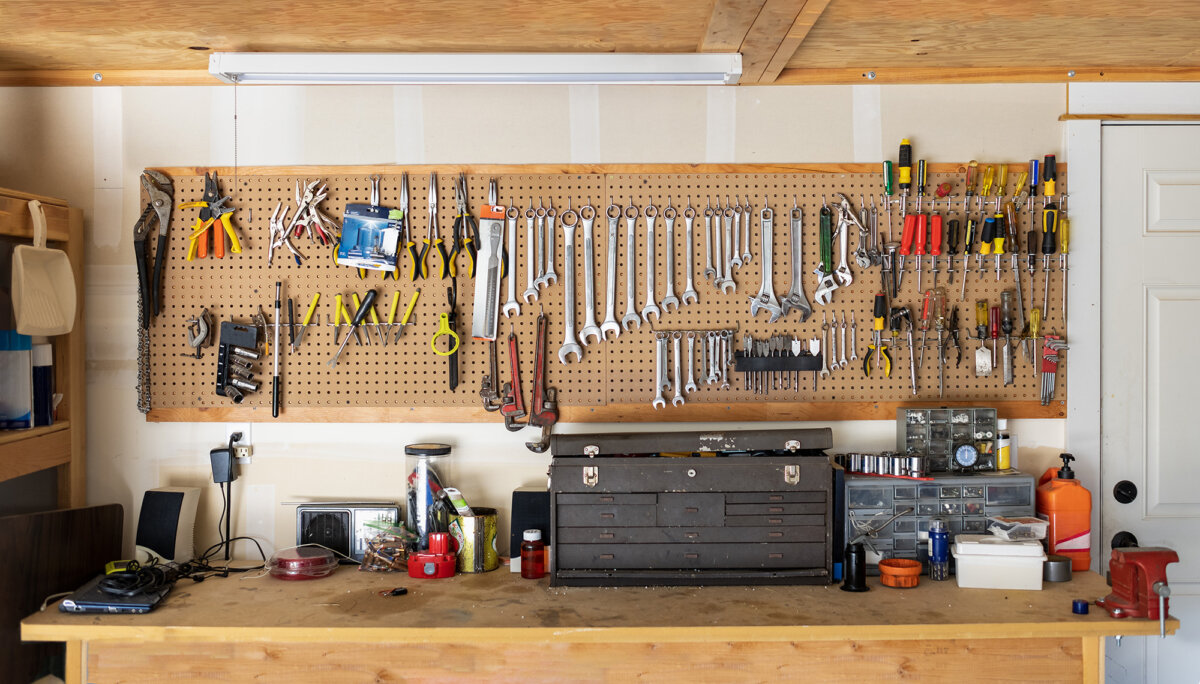
Hand tools should be stored in a dry place, ideally in a tool chest with proper ventilation or on tool racks or pegboards. This also leaves them readily at hand for use in the off-season.
Damp garage and basement corners are the enemy of all tools, but especially power tools, as moisture leads to rapid deterioration of sensitive electrical components. Store them in a temperate, dry place in their cases or boxes to protect them from dust and physical damage.
____________________________
More Mechanical Musings
Before opening up any tool, verify that doing so won’t void a warranty. Also, never remove any safety components such as blade guards or safety switches.
Performance Issues
Strange noise? Excessive vibration? Tighten all accessible bolts, screws, and connections. Check for a bent shaft, if applicable. Grinding or buzzing may indicate bearings in need of replacement and a trip to a tool repair shop.
Sharp Is Safe
With all tools, sharper is safer, but never more so than at high speeds, when a dull circular saw or chainsaw blade can cause kickback and accidents. Dull blades also require more force to use, exhausting the user and resulting in choppy cuts. Sharpen or replace.
Moisture Removers
Enhance tool storage with silica packs found in vitamin bottles, shoes, or electronics. They can also be purchased. Other options include desiccant beads, which change color when used up, and charcoal, which is inexpensive and works well but can be messy.
