
Renters looking to keep their wallets full aren’t the only people who will benefit from bringing a residence back up to shipshape condition. Homeowners looking to sell, or just wondering whether their home is becoming a little “tired” around the edges, will also benefit from the practical and psychological impact of minor repairs.
Taking the do-it-yourself route is cheaper than hiring a professional. DIY not only saves on labor costs, but also often allows you to select less expensive materials that will still get the job done well.
In some cases, a professional may be required. If so, check with the landlord. It may still be more cost-effective to hire directly than to have their people do it.
Legal Obligation
The rental should be returned in a comparable condition to that in which it was received: less of the normal wear and tear (faded paint or carpet from sunlight exposure, micro scuffs), uniform wear on carpet floors in high-traffic areas, and a uniform worn finish on hardwood floors that is commensurate with the length of the tenancy.
Nail holes are a disputed item, with some saying that they’re the responsibility of the landlord upon apartment turnover and others saying that they are the responsibility of the tenant to repair before moving out. More on this later.
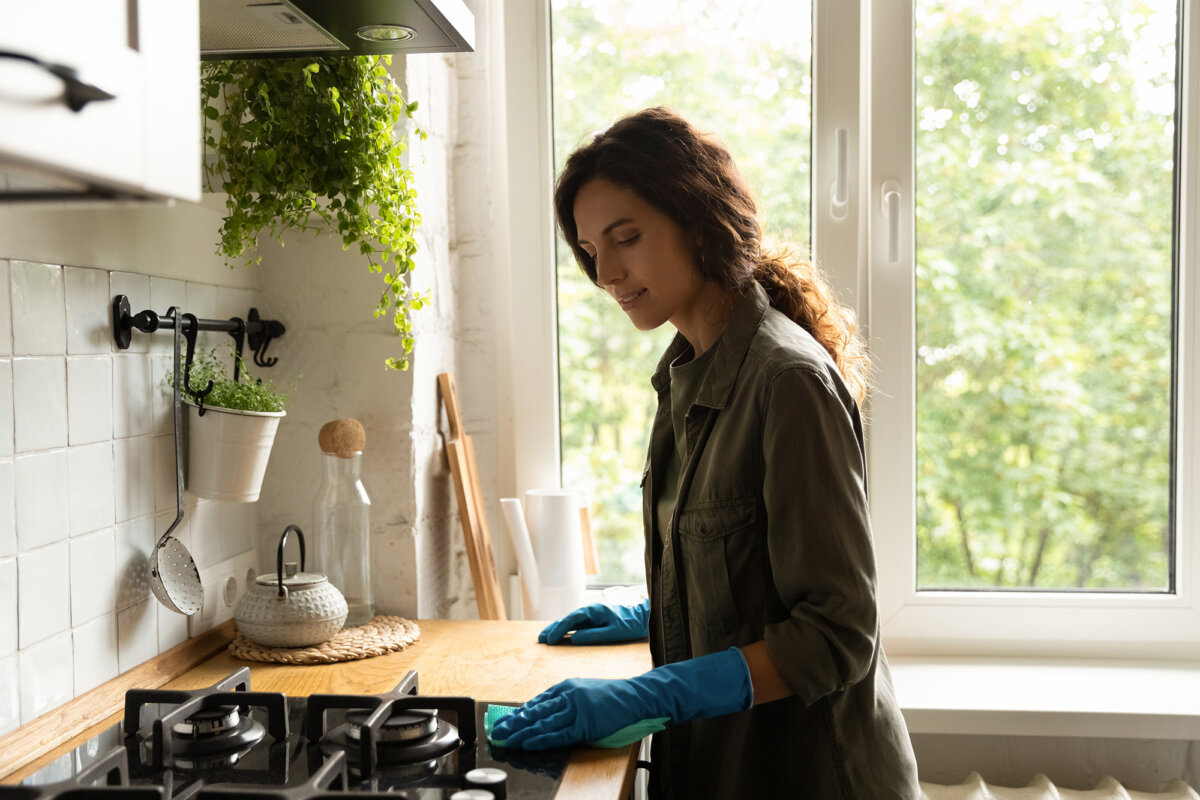
The entire unit should be returned thoroughly clean. In addition to sweeping, vacuuming, mopping, wiping, and dusting, this includes removing any unwanted furniture, as well as leftover hangers, toiletries, and other trash to avoid any removal charges.
Sheetrock (Drywall) Skills
Minor wall holes from nails, small screws, poster staples, and other small punctures can be filled with small hole repair, drywall spackle, caulk, or even white toothpaste. Holes from larger screws and anchors are best filled with a spackle or joint compound designed not to shrink, crack, or sag. For less than $10, a 3M all-in-one high-strength small hole repair tube makes minor holes a non-issue that may not even need touch-up paint.
Bigger concerns? A larger 3M kit with an applicator can fix holes up to three inches in size. Fill with a putty knife, let dry, and sand smooth—use touch-up paint if needed. To make sure that it matches, ask the landlord or property manager for the specific paint color, finish, and brand he used.
Doorknob impacts and similar dents in walls should be filled with a lightweight, fast-drying spackle. Clean the area, removing any loose material, then lightly sand with 120–220 grit sandpaper. Apply the spackle gently using a putty knife, pressing it into place. Once completely dry, sand it smooth. Filling cracks is a similar procedure, but they should be widened first so the spackle has a better surface to adhere to.
The kids love roughhousing? Larger dents, holes, and cracks can be fixed with joint compound applied over a piece of self-adhesive mesh. Apply the compound in a criss-cross pattern, and feather it (make it thinner) at the edges. Let dry and sand smooth.
Door Dings
Dents and holes in flat, solid doors can be filled as above. For solid wood doors, use wood filler. Hollow core doors should either be packed with paper towels, cardboard, or newspaper or be filled with expanding foam (cut it flush after it dries), then finished with joint compound. Vinyl doors need a vinyl patch or filler and may require some artistic treatment to match a faux wood grain.
Grab a Screwdriver
Keep a screwdriver handy when cleaning to tighten doorknobs, cabinet hinges, and other loose screws along the way.
For misaligned cabinet doors, find the vertical adjustment screw(s) for the particular hinge type, or look it up on Google. Clockwise turns raise the door; counterclockwise turns lower it. Do both upper and lower hinges.
Damaged hardware? Most modern fasteners and fixtures are very DIY friendly, with good instructions included. Use Amazon’s photo search feature (even if not shopping there) to determine the make and model, or ask the property manager. An exact replacement makes installation go faster because any necessary holes, or mounting brackets in the case of window blinds, are all ready to go.
Cleanup 101
There’s a reason cleaning services charge several hundred dollars for a move-out service—it’s a big job.
There are several things to do to make things more efficient, such as doing tasks simultaneously. For example, wipe down counters or blinds while waiting for oven or toilet bowl cleaner to work. Focus on difficult areas first while most energetic: ceiling fans, light fixtures, above kitchen cabinets, and windows. Wipe down all cabinet interiors and exteriors. Take the shelves and bins out of the fridge and wash them in the sink. It’s way easier. Wipe down the empty fridge interior with vinegar to deodorize. Pull it out to sweep and mop underneath.
One oft-neglected item is the dishwasher; wipe down the interior and clean out the filters on the bottom. In the bathroom, CLR products are your best friend, from cleaning shower doors with hard water buildup to grungy toilet bowls. Mildewed caulk? Use a bleach-based cleaner. Stained kitchen or vanity counter? First determine what it’s made of before attempting any fixes.
Dust, vacuum, mop, and wipe down all surfaces, including light switches. Consider renting a carpet cleaner if warranted; it’s a worthwhile investment.
__________________
Need-to-Know
Report appliance issues, water leaks, and electrical problems immediately, or the property manager could potentially take repair costs out of the security deposit.
Be Responsible
Some internet sites will advise tenants that they don’t need to do any fixes, that everything is “wear and tear.” But those online “experts” will not be around to defend a tenant against a landlord, mediator, or judge. Better safe than sorry. Plus, it’s the right thing to do.
Useful Extra Step
Scheduling a pre-move-out walkthrough with the landlord or property manager allows time for a tenant to make additional cleaning or repair efforts necessary for a satisfactory deposit return.
Whip Out the Camera
Take detailed photos to show the condition the unit was left in; date and time stamp them if possible. Ideally, photos were taken at the move-in as well. If not, do so for the next apartment. No time and date stamp? Print out the photos and send them via certified mail to your new address. Don’t open the envelope unless in front of a mediator or judge.
