
Microgreens and sprouts are more than a garnish. Research suggests that these young plants can contain higher concentrations of key nutrients than mature vegetables, making them an easy way to boost the nutritional value of everyday meals.
Beyond their nutrient profile, microgreens and sprouts bring crisp texture and vibrant freshness to meals. A small handful can transform even the simplest bowl of greens.
Growing them in your kitchen gives you more control over what ends up on your plate. Understanding how they differ in growing time, harvest stage, and edible parts can help you make the most of each.
Health Benefits of Microgreens and Sprouts
Microgreens and sprouts are rich in vitamins, antioxidants, and other micronutrients that support digestion and immune health.
Microgreens
Research suggests that these tiny greens contain four to 40 times more nutrients than their mature counterparts. In particular, they are rich in carotenoids, which are fat-soluble plant pigments with antioxidant and anti-inflammatory properties that serve as precursors to provitamin A. These compounds help protect cells from oxidative stress, which is associated with chronic disease and premature aging.
Specific varieties offer distinct nutritional benefits. Broccoli microgreens contain trace elements such as zinc, manganese, copper, and magnesium. Spinach microgreens provide potassium and digestible protein, and lettuce microgreens have higher mineral levels than mature lettuce.
Sprouts
Sprouts develop through germination, a process that breaks down the seed’s outer layer, increases the availability of certain nutrients, and makes the seed easier to digest. Germination also reduces antinutrients such as phytic acid and lectins—compounds that interfere with mineral absorption in the intestines.
A 2025 study found that sprouted seeds contain high levels of vitamins, minerals, phytonutrients, and especially phenolic compounds, which are plant compounds known for their antioxidant activity. Wheat sprouts, in particular, showed a notable increase in phenols, which also play an important role in fighting chronic degenerative diseases.
Like microgreens, sprouts offer a simple way to boost the nutrient density of everyday meals and support overall health.
Microgreens Versus Sprouts: What’s the Difference?
Sprouts and microgreens differ not only in nutrient profiles but also in growing methods, light requirements, harvest stages, and flavors.
Microgreens are harvested after they have developed their first true leaves, placing them beyond the sprout stage.
To reduce the risk of contamination, rinse sprouts thoroughly at least every 12 hours during germination. Once they have sprouted, store them in the fridge in a cool, dry place and use within three days. Cooking sprouts before eating can further lower food safety risks.
Pregnant women, children, older adults, and people with weakened immune systems should avoid eating raw sprouts, as they are considered high-risk foods and may harbor bacteria such as Salmonella and E. coli.
How to Choose the Best Seeds
Many types of seeds are suitable for growing microgreens and sprouts, but some offer higher nutrient density, faster growth, or more distinctive flavors. When choosing seeds, consider your taste preferences, available space, desired harvest time, and nutritional goals. In general, microgreens tend to deliver a richer flavor, while sprouts add a crisp texture and a clean, fresh taste.
Broccoli and alfalfa are mild, delicious, earthy options for sprouts. Radish, arugula, and mustard microgreens deliver a bolder, spicier flavor, while pea shoots offer a sweeter, more delicate taste.
How to Grow Microgreens and Sprouts
Although both require water during germination, sprouts and microgreens have slightly different growing processes. Microgreens require a growing medium—typically soil—to support leaf development.
Getting Started
Before you begin, gather the basic supplies needed to grow sprouts or microgreens.
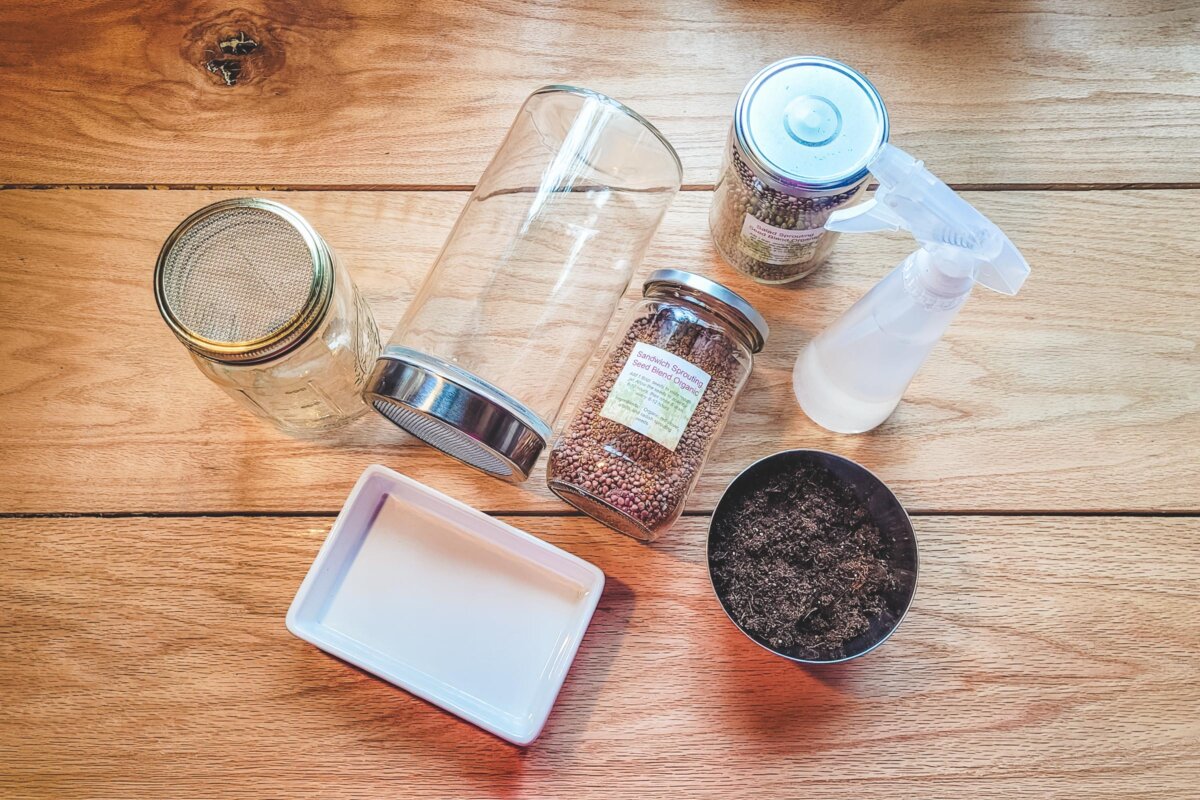
- A sprouting jar with a mesh lid for easy rinsing, or a shallow dish filled with soil to grow microgreens
- Seeds labeled specifically for sprouting or microgreens; these are untreated, are suitable for high-density growing, and typically have higher germination rates
- Water
Before you begin, make sure that your jar, lid, and screen are clean, and wash your hands thoroughly.
Instructions for Growing Microgreens
Growing microgreens takes a bit more time and space than sprouting, but it’s still practical for home kitchens.
Step 1: Add soil or another growing medium such as coconut coir to a shallow dish.
Step 2: Evenly moisten the soil (or other medium) with water. Lightly spritzing the surface helps control moisture and prevents seeds from shifting before they root.
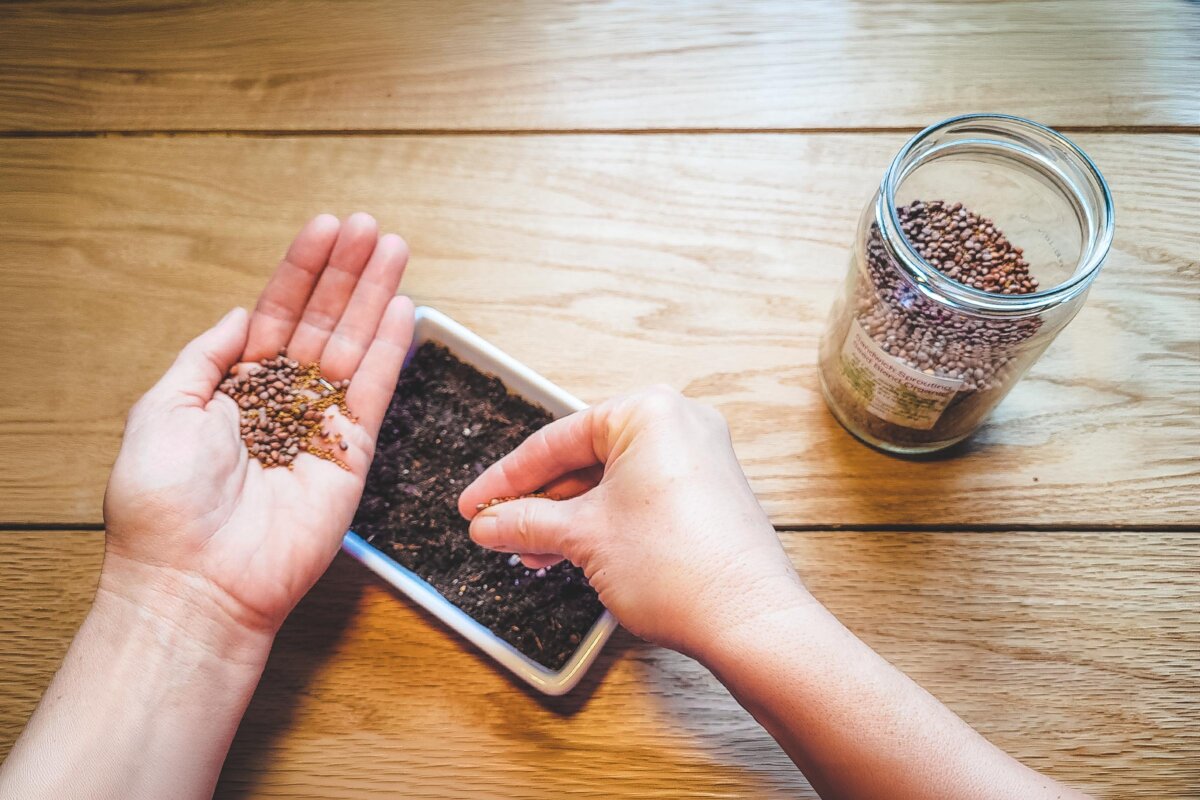
Step 3: Spread the seeds evenly across the surface—for a 10-by-20-inch dish, use a 1-ounce packet.
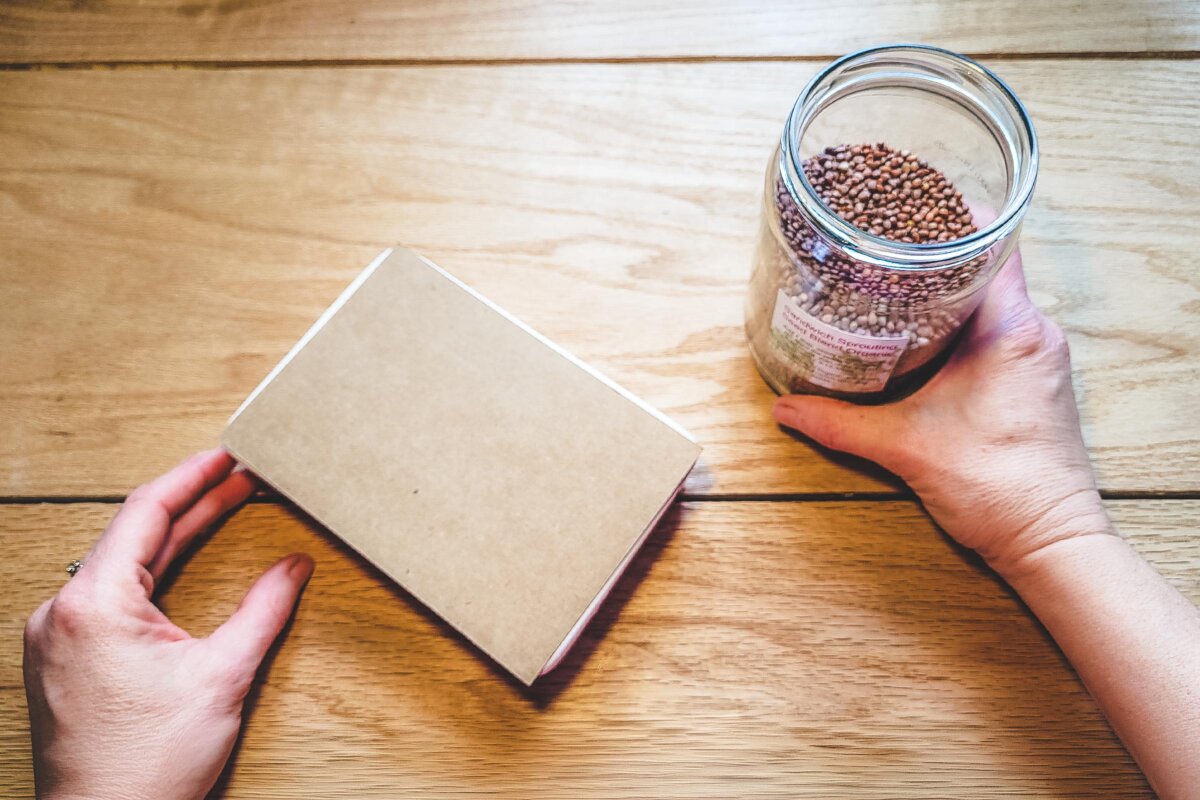
Step 4: Cover the dish and let the seeds rest in the dark for one day. Do not water on day two.
Step 5: On day three, uncover the dish and water lightly. You may already see tiny shoots forming.
Step 6: From days four to 10, place the dish in the light for at least 12 hours per day. The shoots will continue to grow and turn green. Keep the soil moist but not saturated.
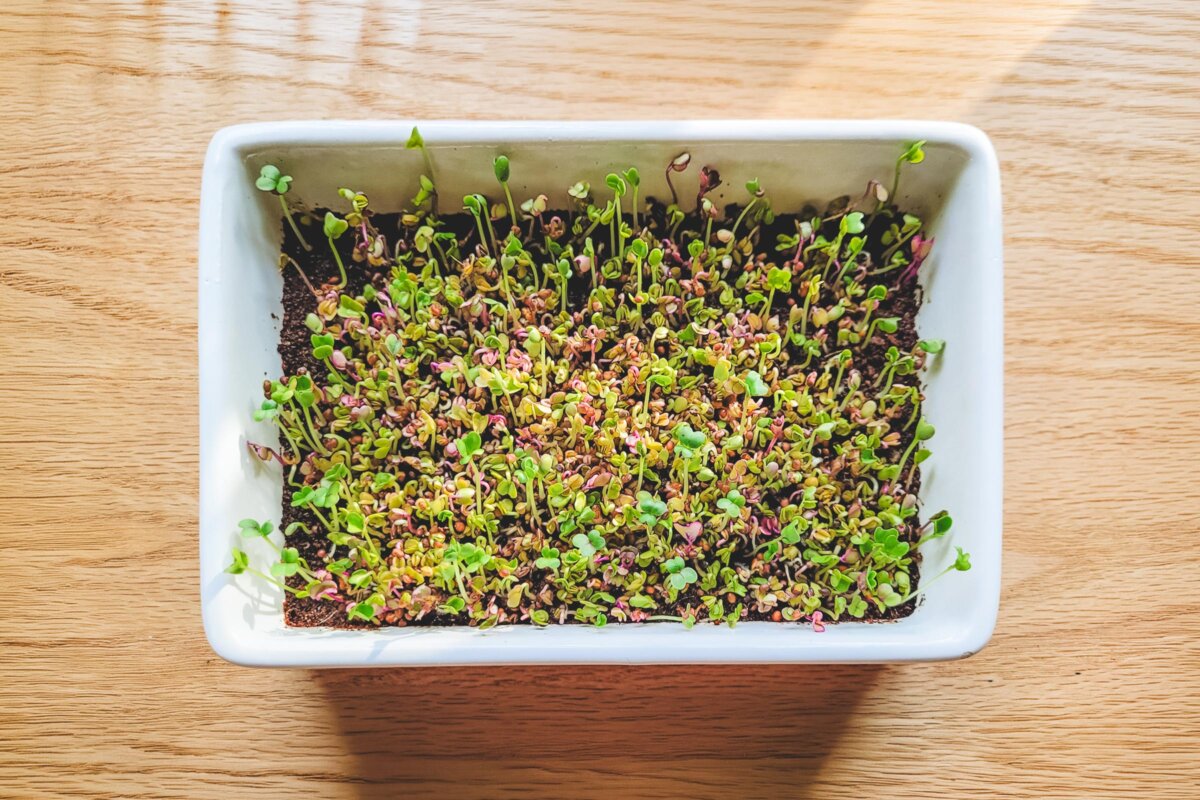
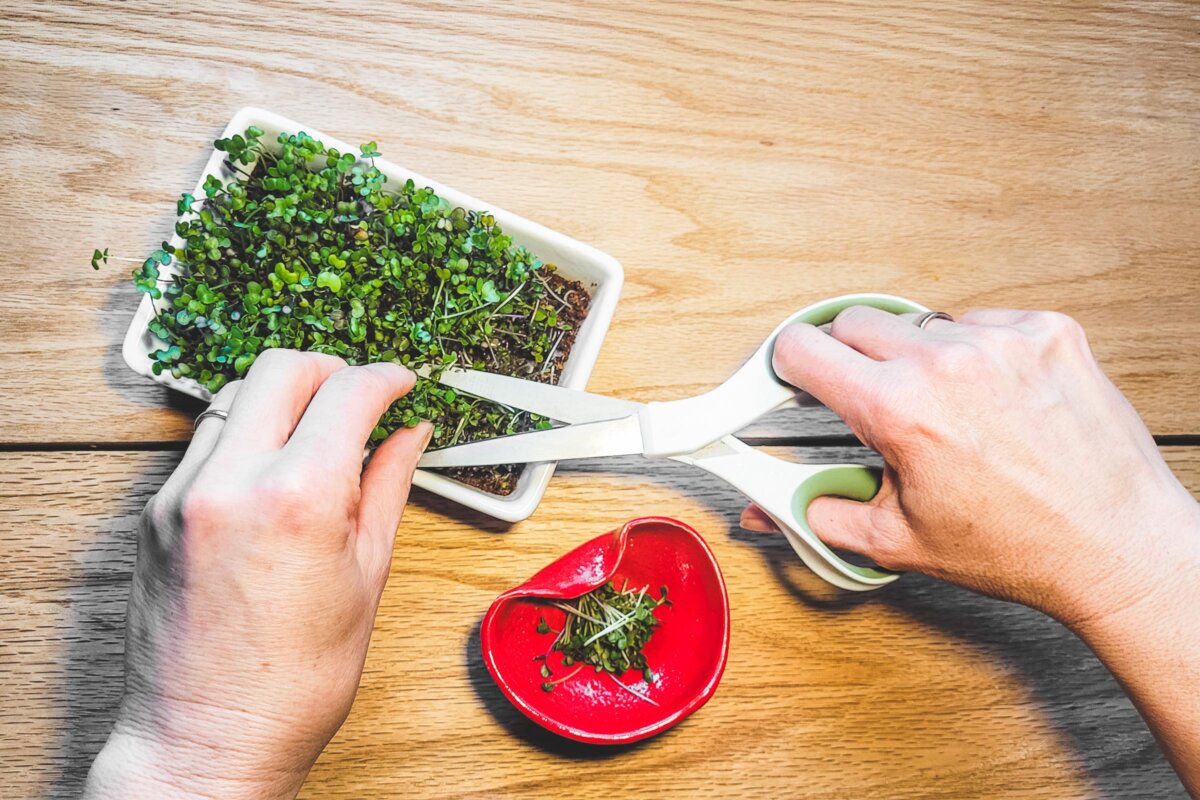
Step 7: Between days 11 and 21, harvest once the plants have developed their first set of true leaves and are about one to three inches tall. Harvest by cutting at the base when they reach the desired height.
Instructions for Growing Sprouts
Sprouting seeds at home is simple and requires only a few days of consistent rinsing and draining.
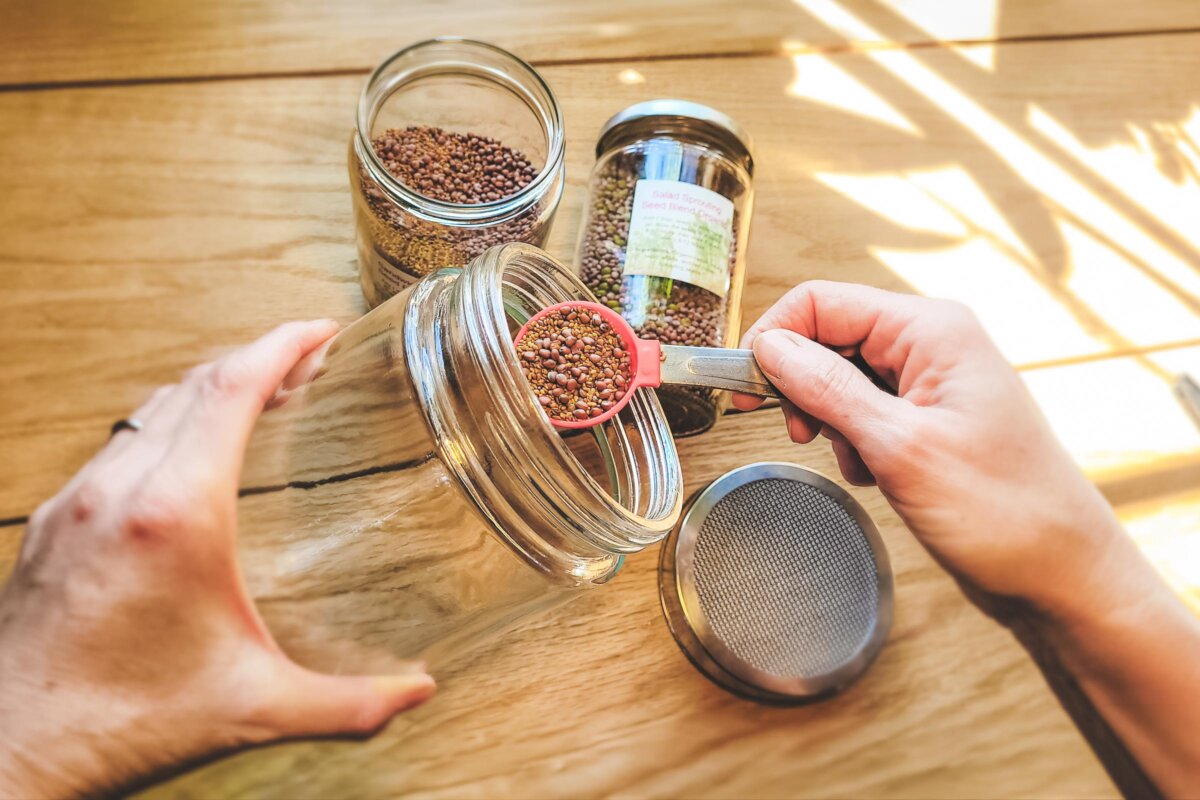
Step 1: Start with a clean sprouting jar and add 1 to 2 tablespoons of seeds—about 1 tablespoon per 16-ounce jar—to allow room for growth and reduce the risk of mold.
Step 2: Cover the seeds with water, and soak for six to 10 hours.
Step 3: Rinse thoroughly, then drain all water through the mesh lid without removing it.
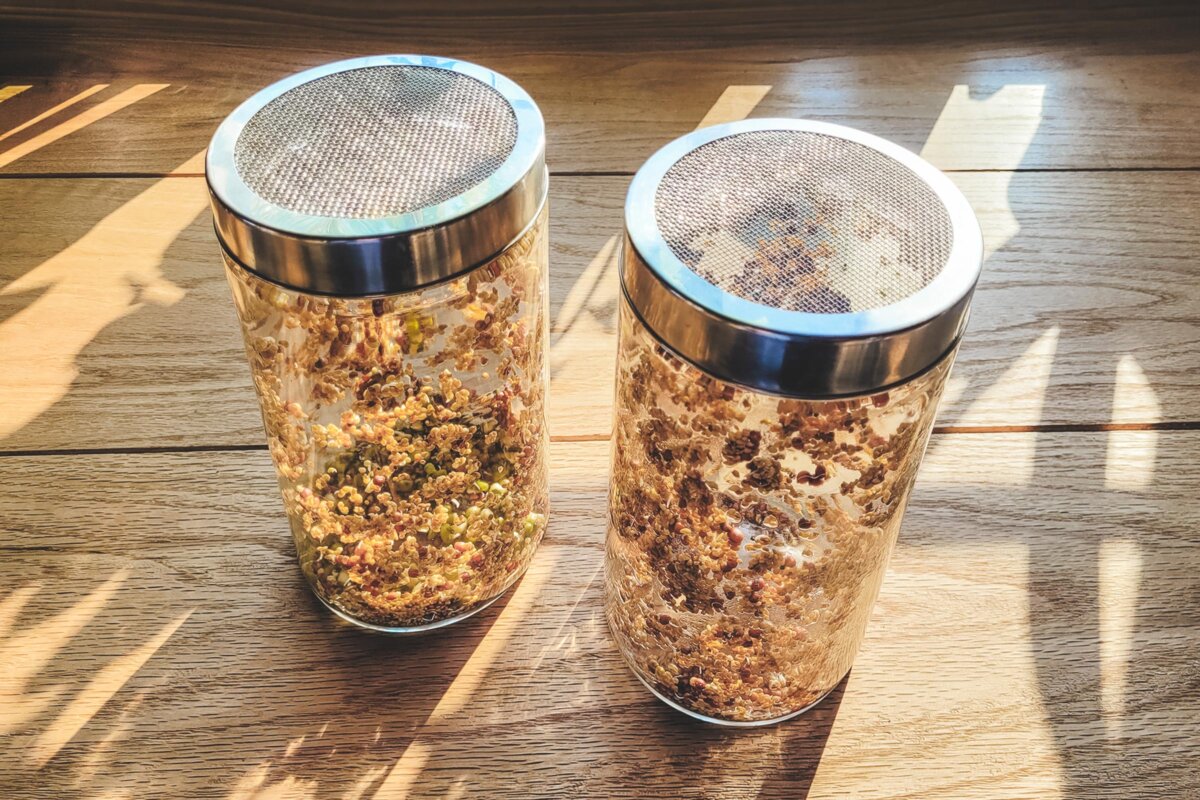
Step 4: Gently tap the jar to spread the seeds along the inner surface; they will stick to the sides.
Step 5: Repeat the rinsing and draining process twice daily until the sprouts reach the desired size.
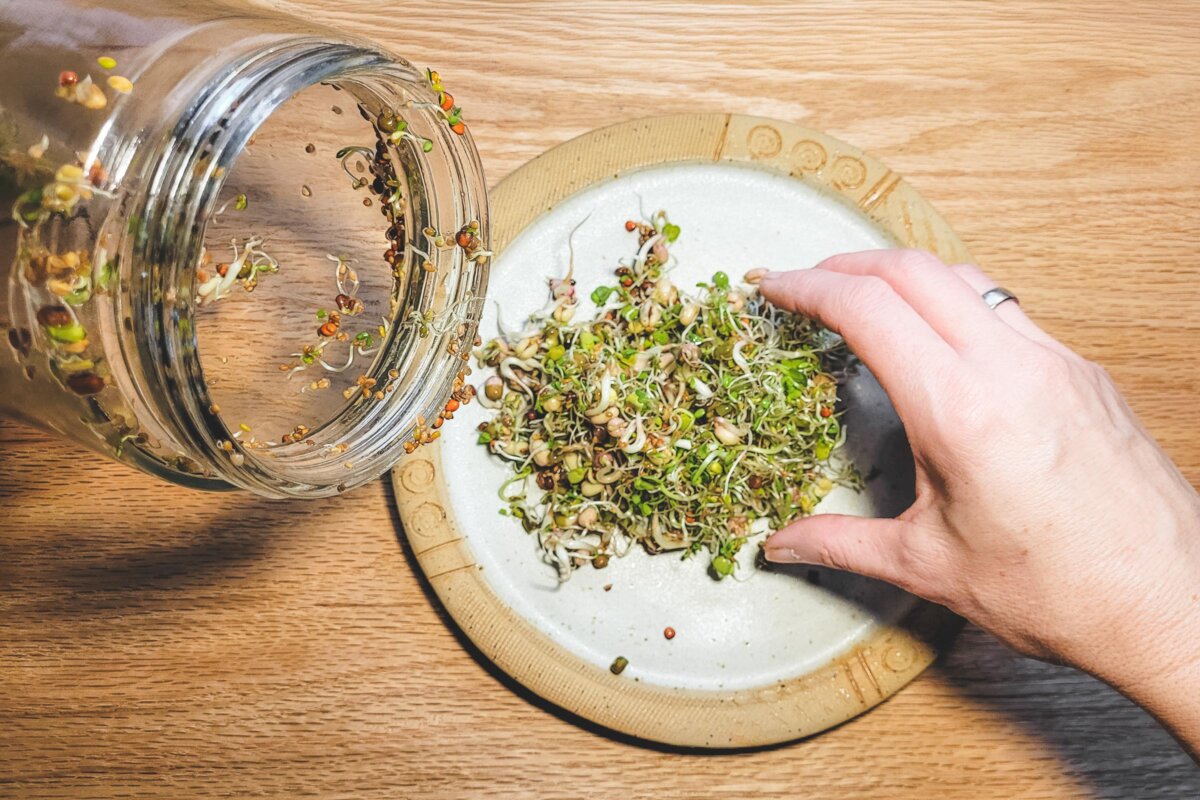
Step 6: After three to five days, give the sprouts a final rinse and drain thoroughly. Let them dry slightly before using as a topping for salads or other dishes.
Growing lettuce, kale, radishes, or other greens often requires a garden or raised bed, but microgreens and sprouts can thrive indoors with minimal space and equipment. Their quick growth and concentrated nutrients make them a practical way to upgrade everyday meals. With just a little time and effort, you can add freshness, crunch, and extra nutrients to your salads year-round.