
As winter drags on, gardeners itch for new projects. Watching seemingly dead seeds transform into small plants—and ultimately summer’s bounty—drives plant lovers during the darkest months.
Winter sowing offers a way to start planting seeds right now, even while freezing temperatures still lie ahead. This simple, low-cost method lets gardeners get a head start on the growing season with cold-hardy seeds and recycled containers.
Beyond the gardening benefits, engaging with nature also improves mental health. Research has linked hands-on activities such as gardening to deeper emotional connections, increased motivation, and a greater sense of purpose. Time spent outdoors has also been shown to improve overall health and well-being.
Winter sowing, therefore, not only gives seeds a strong start for the long growing season but also offers gardeners a meaningful way to stay connected to nature through the winter months.
What Is Winter Sowing?
Winter sowing is an inexpensive gardening technique by which you start cold-hardy seeds outdoors in recycled milk jugs or similar containers. The seeds are exposed to natural winter conditions, which provide the cold stratification they need to germinate successfully.
Frigid temperatures help break seed dormancy and improve germination rates. Unlike traditional indoor seed starting, winter sowing requires no heat mats or grow lights. The result is naturally acclimated, sturdy young plants ready for spring planting.
Who Winter Sowing Is For–and What Plants Benefit
Winter sowing works best for seeds that require or benefit from a period of cold exposure. Many gardeners use this method to grow native plants, herbs, flowers, and certain vegetables.
Where I live, in the Upper South of the United States, the butterfly-magnet milkweed is a great candidate for winter sowing and a favorite among gardeners looking to support pollinators.
Many other plants also benefit from cold stratification, including:
- Herbs: Echinacea, lavender, yarrow, anise hyssop, catnip, and rosemary
- Annuals and Flowers: Marigolds, black-eyed Susans, lupines, larkspur, columbine, delphinium, and poppies
- Native Plants and Trees: Goldenrod, elderberries, redbuds, dogwoods, and ironweed
- Vegetables: Wild carrots, asparagus, perennial leeks, onions, and parsnips
The U.S. Fish and Wildlife Service offers a list of native plants suitable for various regions. Gardeners can also check their hardiness zone using a ZIP code to confirm whether winter sowing conditions are appropriate where they live.
When to Winter Sow
December through March are the best months to winter sow hardy annuals, perennial herbs, native plants, and some vegetables.
Less cold-hardy flowers and vegetables can still be winter sown later in the season, typically in late March or April, depending on local temperatures and hardiness zone.
How to Winter Sow
Getting started with winter sowing is easier than it sounds. With a few basic supplies and a little patience, you can turn tiny seeds into sturdy transplants ready for spring.
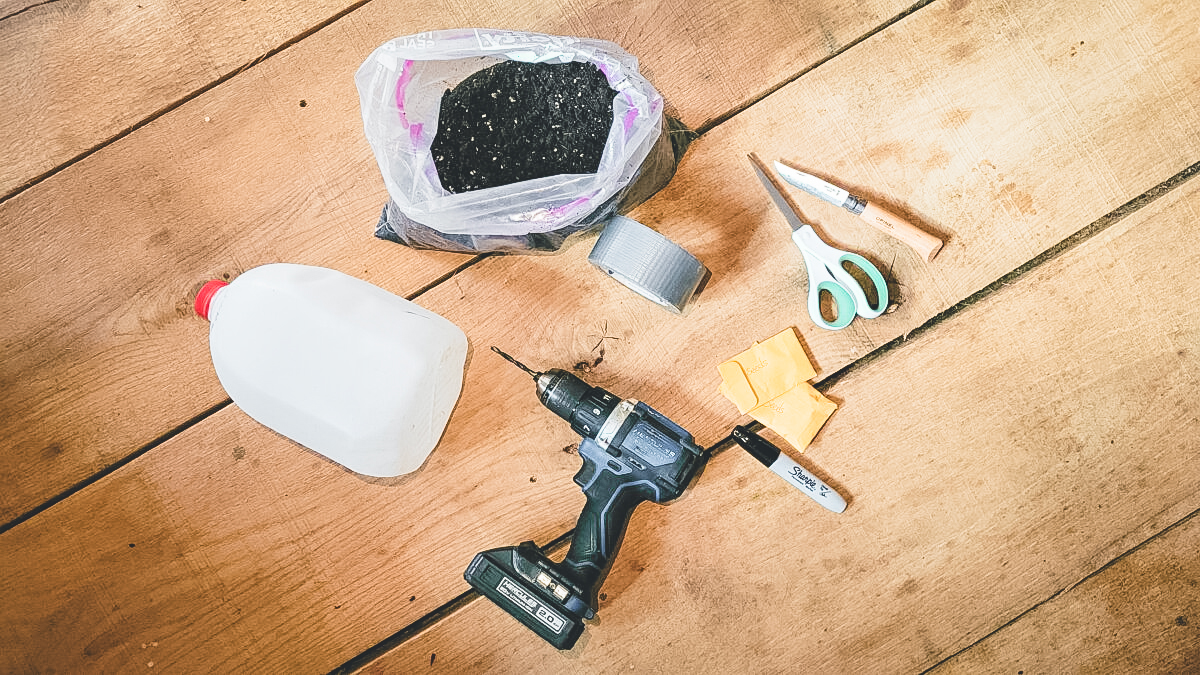
Materials
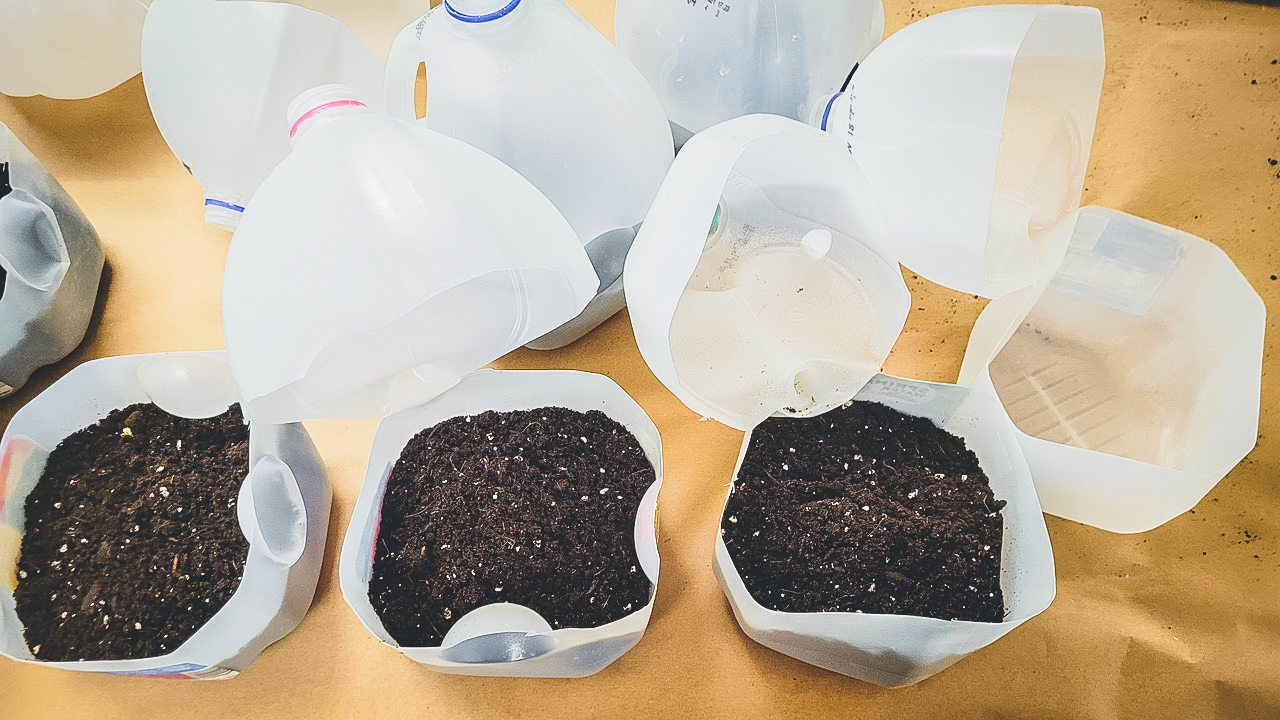
- Clear or translucent containers, such as recycled milk jugs, large yogurt containers, or salad mix boxes
- Scissors or a sharp knife
- Duct tape
- Drill, center punch tool, or hot glue gun
- Waterproof pen or garden markers
- Gloves (if desired)
- Soil (a light potting mix, seed-starting mix, or a blend of potting soil and vermicompost)
- Seeds
Preparation
- Rinse containers thoroughly and discard the caps.
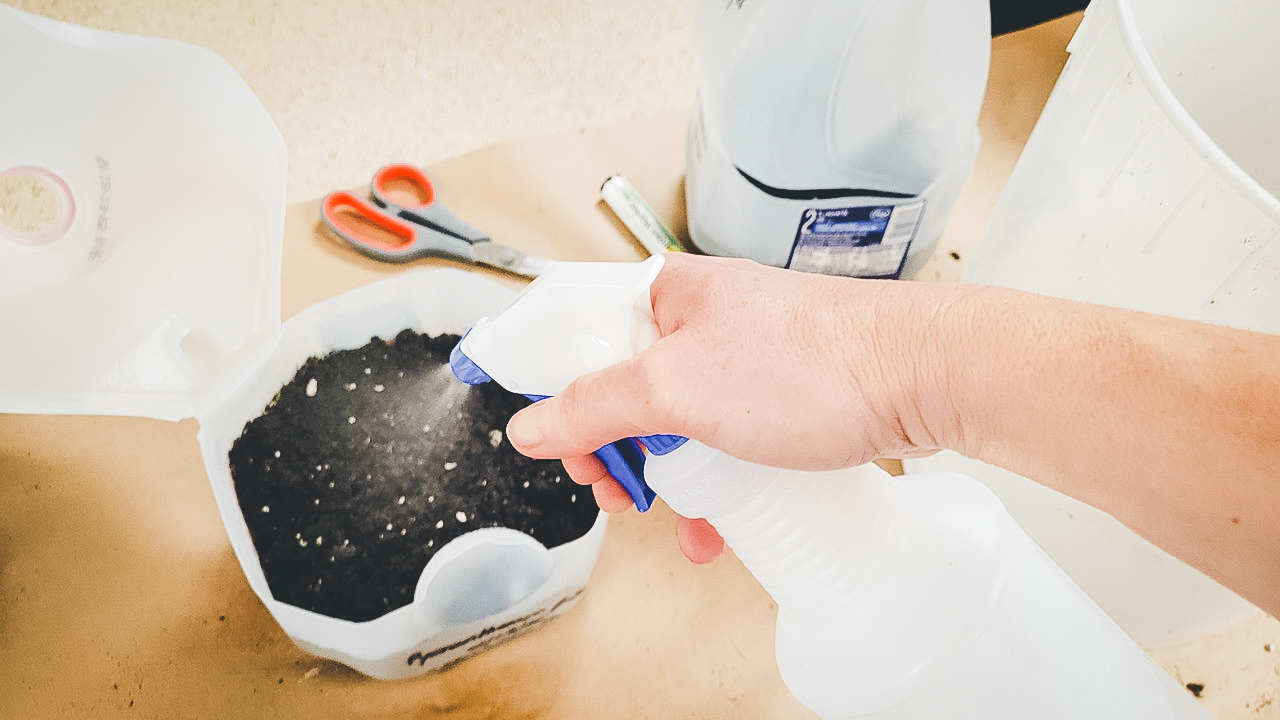
- Prepare a light, well-draining growing medium. Mix 4 parts potting soil with 1 part vermiculite, or use a seed-starting mix combined with vermicompost. Moisten the soil evenly before planting, but avoid standing water. Do not use garden soil or heavy potting mixes, which can stay too wet and smother seeds.
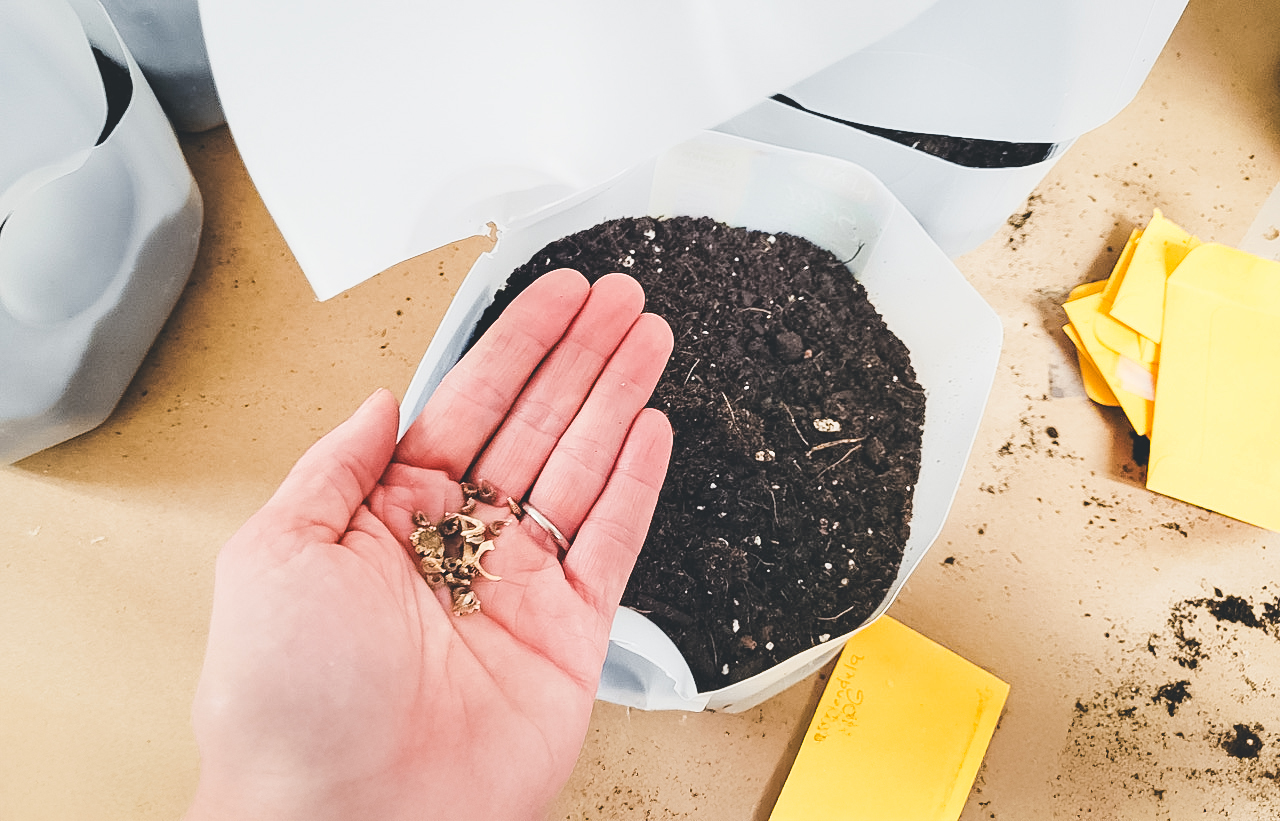
- Count seeds from each packet. Depending on the size of the seed, one milk jug can hold between 10 and 25 seeds. Plant only one type of seed per container.
Instructions
Step 1: While the container is still intact, drill, punch, or burn five to eight drainage holes into the bottom of the container, spacing them out evenly.

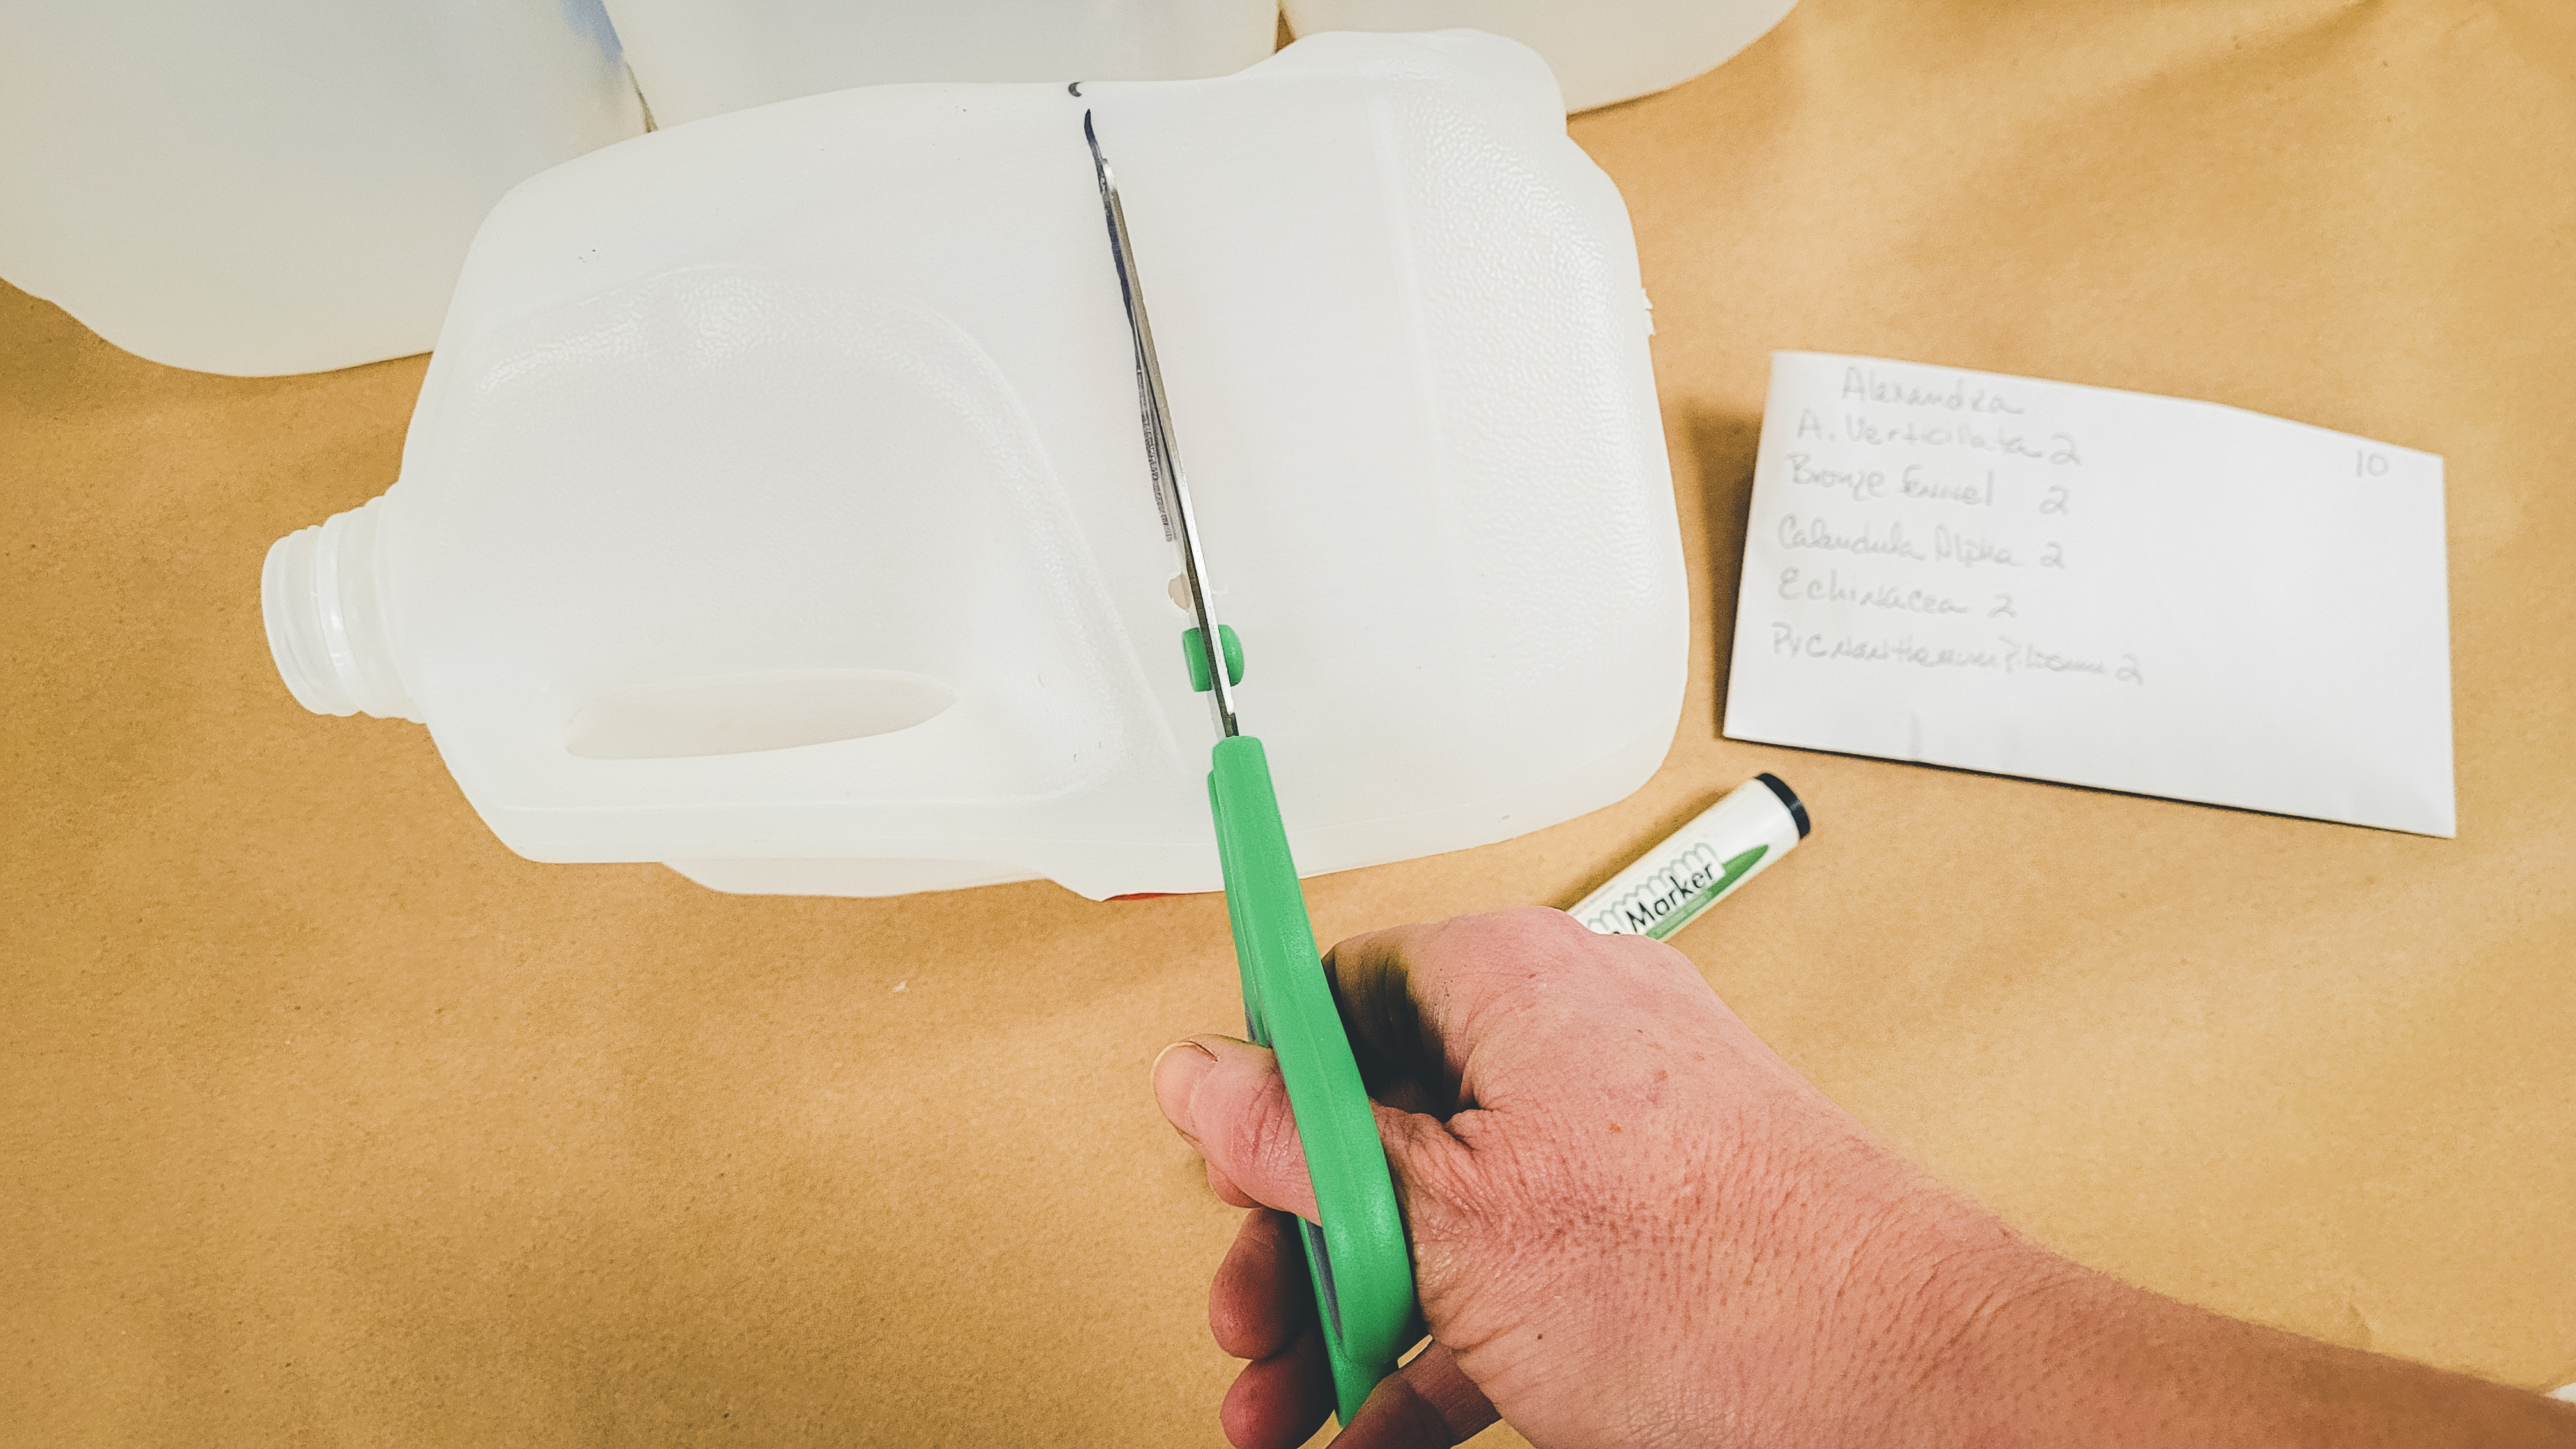
Step 2: Mark the container with the cut line and cut it open just below the handle, keeping the handle attached. Leave about three to four inches of depth at the bottom for soil and root development.
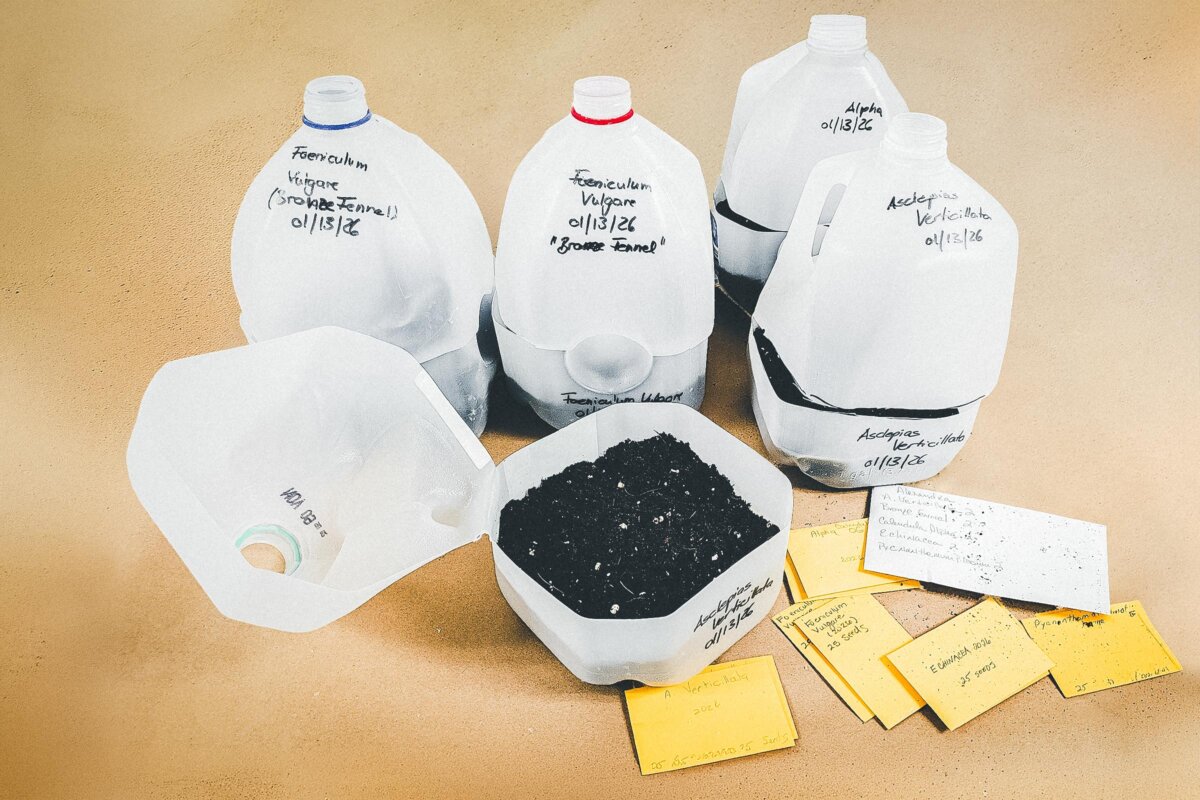
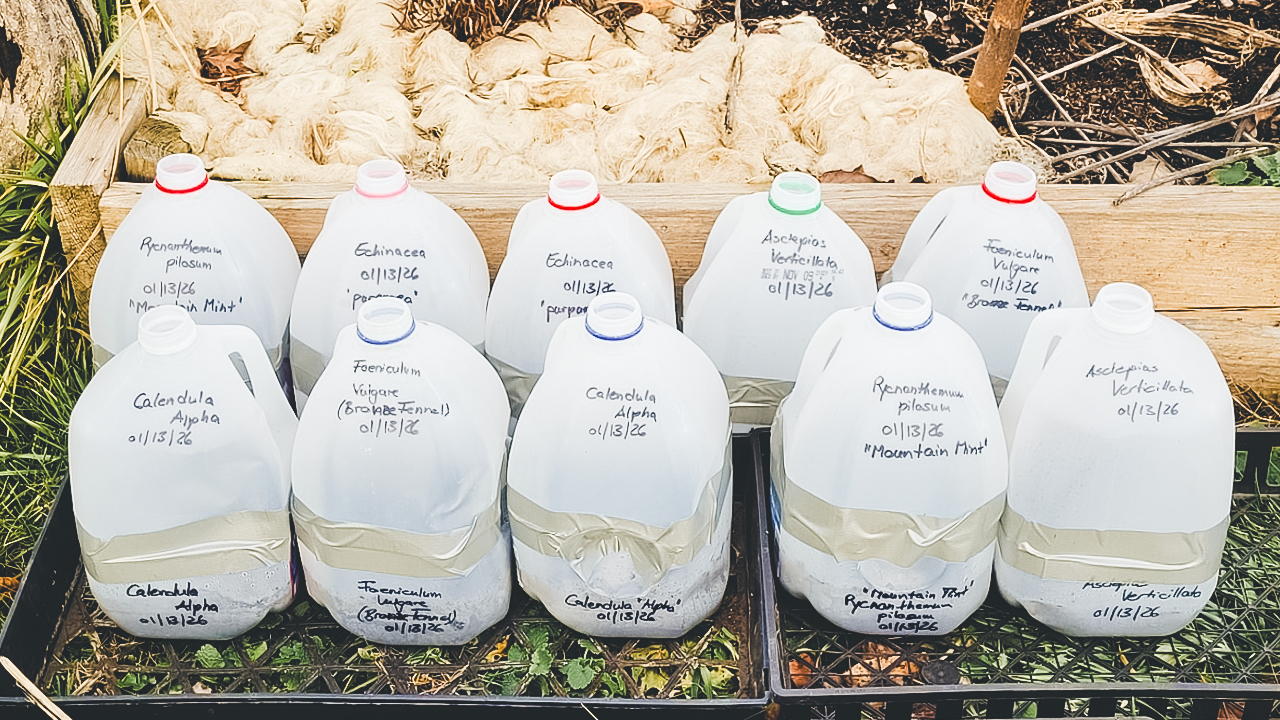
Step 3: Label both the top and bottom with the date, plant variety, and number of seeds.
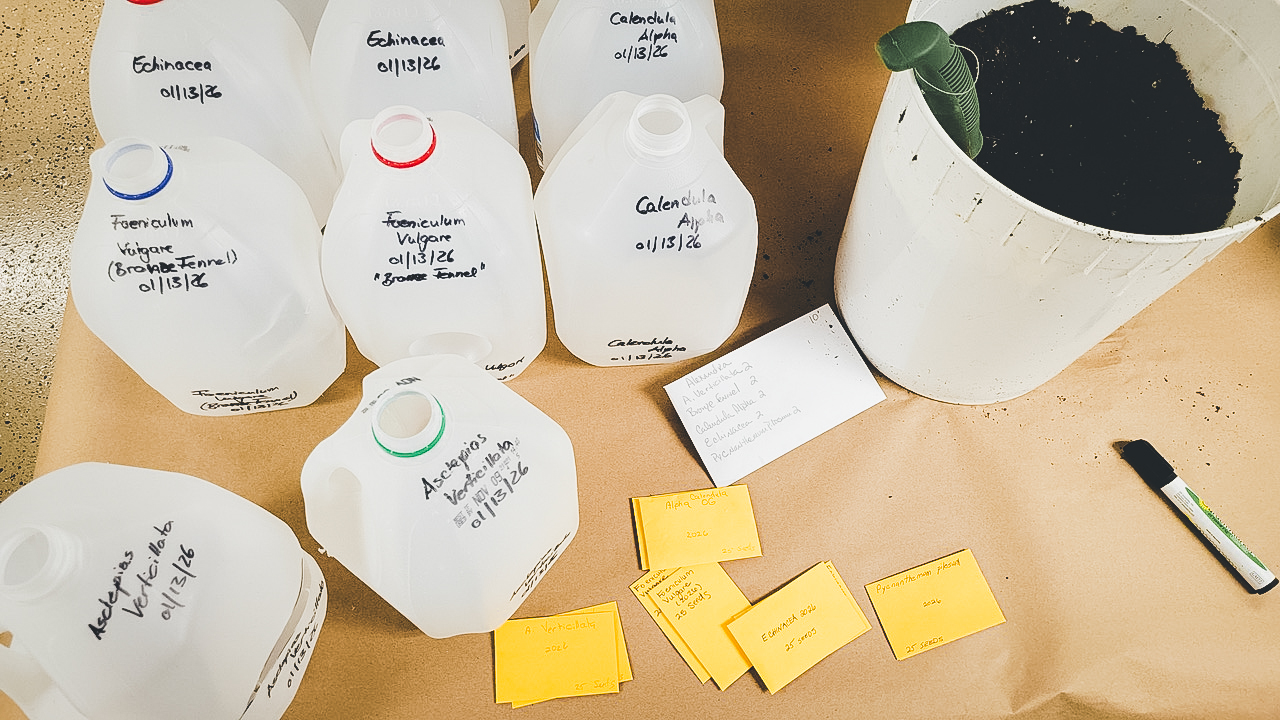
Step 4: Add potting mix to the container. If slugs or small critters are a concern, you can line the bottom with a coffee filter or permeable cloth.
Step 5: Tap the container gently to settle the soil and remove any air pockets.
Step 6: Spread seeds evenly across the surface. If seeding densely, seedlings can later be divided or transplanted in clusters.
Step 7: Close the container and tape it shut. Leave the top opening uncovered to allow ventilation and moisture to escape.
Step 8: Place the containers outside next to garden beds, on a balcony, or on a sunny windowsill.
Step 9: Check containers occasionally to monitor moisture levels. Add water only if the soil begins to dry out.
Step 10: During extended freezes or unexpected heat spells, cover containers with a blanket or move them into the shade as needed.
After Sprouting
- When seedlings develop one to two sets of true leaves, remove the tape and open the container during sunny days.
- After three to five days of exposure with the lid open, seedlings are ready to transplant. Gently separate individual plants or cut dense plantings into sections like you would a brownie. The roots are very fragile during this stage, so be careful.
- Water thoroughly after transplanting.
For more detailed guidance, the University of Maryland offers a comprehensive guide to winter sowing.
Winter sowing brings joy to gardeners during the coldest months of the year. As the last snow melts and the soil thaws, your winter-sown seeds will awaken, ready to grow into strong, healthy plants. No matter the size of your garden, balcony, or windowsill, winter sowing offers an easy way to get a head start on the growing season—while also supporting mental and physical well-being.