



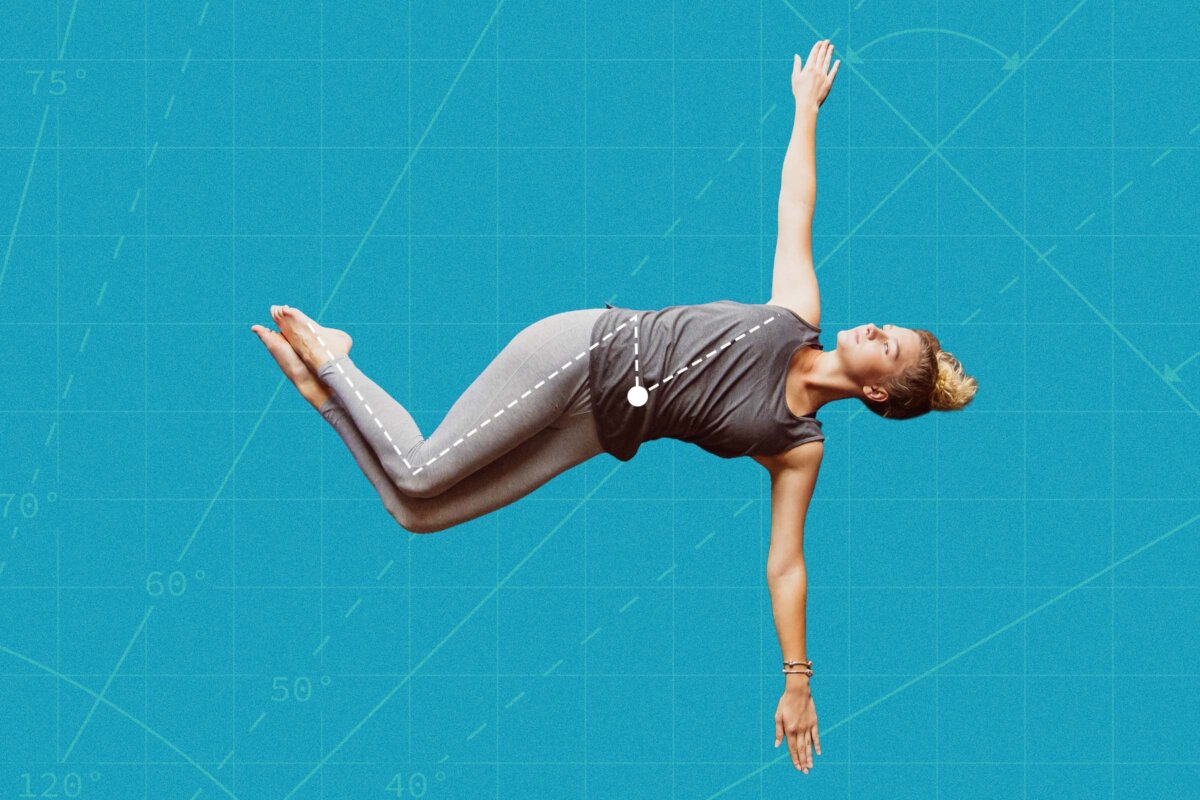
Your spine is composed of 33 vertebrae, nine of which are lower in the back and fused into two different bones, while the other 24 are separate and movable. Most of the movable vertebrae are separated by intervertebral disks, fibrous “cushions” that protect the vertebrae during movement.
The beauty of this arrangement is that the part of the spine that joins with the hips is highly stable and able to support the movable structure above. Conversely, the movable joints above it are collectively capable of a considerable amount of movement and able to contribute to trunk flexion and extension, lateral trunk movement, and also left and right rotation. Your spine can perform many of these movements in combinations to yield a great amount of combined functional movement. Your back is very flexible and utilitarian.
Movement in the spine is orchestrated through a host of superficial and deep muscle groups that provide movement and stabilization during tasks, both of which are critical for optimized, injury-free task performance.
While the spine is capable of an amazingly broad series of movements and is surprisingly strong given that everything is dynamic, it does possess an Achilles’ heel in that experiencing difficulties with even one disk can cause a compromise in the overall functioning of the whole and, given significant pathology, can considerably hinder movement and function.
Caring for your back is critical to preserving your functional independence and quality of life.
5 Trunk Exercises to Maximize Safety and Independence
Below are five exercises that move through a linear progression. They work well for my patients, and I love them as well. Though they work well for us, I suggest you consult your medical provider to ensure they are appropriate for you.
1. Lower Trunk Rotations
Lower trunk rotations target your lower spine while your entire upper spine remains static. They’re a great starting place because the lower back is most often involved when people have back pain—approximately 43 percent of all reported back pain centers on the lower back. A chief benefit of supine rotations is mobility without weight-bearing, which allows the discs to move without compression.
Step 2: Keeping your knees together, slowly move your legs as far down toward the right as possible. Your left foot will lift off the surface as you do so, which is expected. Focus on slow, deep breathing as you progress through the movements. As I like to tell my patients, breathe all you want, because we don’t charge you for air. Yet.
Step 3: Return your legs to the starting position and repeat the movement to the left. Lowering your legs down and then back up counts as one repetition. Try to perform 15 repetitions per side, being sure to maintain a slow pace while focusing on your breathing.
Modifications: If you can’t move your legs very far to the sides at first, or you can move further in one direction than you can in another, just do what you can. Over time, you should loosen up and be able to move better.
Why I Like It: This exercise enables gentle, slow mobilization of the lower back to help keep it fluid and functional, and its low-stress nature can help make movement possible even when pain is an issue.
2. Upper Trunk Rotations
The first exercise isolated your lower back. Next, let’s focus on your upper back. Upper trunk rotations minimize movement of the lower part of your spine and introduce enhanced movement to the thoracic spine, or upper and middle back.
Step 2: Slowly swing your top arm up in an arc toward the ceiling, then continue until you move it as far behind you as you can, or until you touch your knuckles to the floor. Follow your arm movement with your head, keeping your hand, eyes, and head aligned; move slowly, without pushing into pain.
Step 3: Once you’ve rotated, hold for five seconds before slowly returning to the start position.
Step 4: Rotating as far as you can and then returning to the starting position counts as one repetition. Try to perform three repetitions on each side.
Modifications: If you can’t move your arm all the way over behind you, just move it as far as you can. You will get better over time. If you can’t move very far, it can help to extend the amount of time you hold the stretch.
Why I Like It: Thoracic spine flexibility fuels tons of human function, and this exercise fuels tons of thoracic spine flexibility.
3. Figure-4 Trunk Rotations
Next, let’s try the figure-4 trunk rotation. Although it shares a similar side-to-side movement nature as the lower trunk rotations, it carries a distinct stretch for the piriformis muscles (small muscles deep in the buttocks) and is great to include in this series. It’s best to perform the lower rotations first to loosen and warm the lower back, then move into the figure-4 rotation to increase stretch in the piriformis while increasing core contraction due to the asymmetrical leg position, adding a weight component to the mix.
Step 2: Slowly rotate your legs as far down toward the right as possible, keeping the crossed leg in place. You will begin to feel a stretch develop on the back of your right hip. Engage your core to rotate your crossed legs back to center then move them in the opposite direction.
Step 3: Lowering your crossed legs down then back up counts as one repetition. Try to perform 15 repetitions on one side and then switch your figure-4 around to perform the movement on the other side.
Modifications: If you can’t lower your legs very far at first, just do what you can. You should loosen up over time, which will allow greater movement. If you find it a challenge to bring the legs back up, use the arms out to the side position for extra support.
Why I Like It: The positioning of your legs allows the weight of your upper leg to aid in trunk rotation via gravity, giving you more rotation than you would have without the added assist. It also dials in on the piriformis muscles, which, though not strictly part of the spine, can get tight and problematic, and this exercise can address them at the same time.
[series_posts_list][/series_posts_list]
4. Standing Trunk Rotations
Standing trunk rotations are a careful left and right movement involving the thoracic and lumbar vertebrae, bringing together the sum of movements performed in earlier exercises while also adding weight-bearing.
Step 2: Maintaining an upright posture, slowly rotate your trunk to the right as you bring your arms around to the left in an arc. Move as far as you comfortably can before returning to the front, briefly pausing, and then performing the movement to the right. You may notice that you can rotate in one direction more than the other, and that’s OK.
Step 3: Moving left and right counts as one repetition; try to do three sets of 30 rotations, since this is a mobility exercise rather than a strength exercise.
Modifications: Only rotate as much as you comfortably can during this activity. Your muscles will loosen as you progress, but you want to always stay within a comfortable range of performance.
Why I Like Them: In this position, the spine is subjected to rotations while bearing weight, which is a more functional movement pattern than just mobilizing the spine for the sake of mobilization. This is the next step in functional spine movement once we’ve attained mobility.
5. Standing Reach Trunk Rotations
Standing trunk rotations are slow, careful, and stabilized, and work wonders in mobilizing your spine in a standing, weight-bearing position. This reaching exercise follows that great stretching and warming exercise with a higher-velocity rotational movement, and really gets you moving.
Step 2: Maintaining an upright posture, quickly rotate your trunk to the left as you swing your arms to the left in an arc. Move as far as you comfortably can before quickly rotating to the right without stopping. You want to move quickly and smoothly, but not jerkily. You may notice you can rotate in one direction more than the other, and that’s OK. Your arms will move in a floppy, loose pattern.
Step 3: Moving to the left and right counts as one repetition; try to perform three sets of 30 rotations.
Modifications: You can stand with your back to a wall for this exercise, and make it a goal to touch it with your reaching hand on each rotation. I find that this helps keep people from hunching or slouching during rotations. You can experiment with rotation speed by either slowing the exercise down or speeding it up. Faster speeds can cause discomfort for some people, especially those with disk problems or arthritis, so listen to what your body tells you and adjust your speed as needed.
Why I Like It: While the standing trunk rotation is a more “strict” rotational exercise, this one is kind of “floppy,” allowing variability in the movements, which I find both better replicates the real world and also works your muscles more kinetically. You graduate to these rotations once you master the others.
A limber spine is a blessing from above, and these exercises can help ensure your spine remains flexible. Many people have hurting backs, so if you can’t do all the exercises, do the ones you can. I love the linear progression of these exercises and think you will too. Good luck, and I hope these exercises serve you well.
About the Fitness Model: Aerowenn Hunter is a health editor for The Epoch Times. She is an accredited yoga therapist with more than three decades of teaching experience.
Views expressed in this article are the opinions of the author and do not necessarily reflect the views of The Epoch Times. Epoch Health welcomes professional discussion and friendly debate. To submit an opinion piece, please follow these guidelines and submit through our form here.